Guide
How to Register a Property on EspasyoMLS (Broker / Agent / Sales Agent Guide)
Updated 2026-09-19
Quick answer
To register a property on EspasyoMLS, open My Properties from your agent dashboard and tap Register Property. Choose the property type, enter the address (region, province, city/municipality, barangay, street, and unit), and search — this check makes sure each property is registered only once in the system. If no matching property exists, tap Register New Property, fill in the physical blueprint, pin the exact location on the map, and provide the legal and ownership proof (TCT details plus an electronic copy of the title). Review everything and submit. An admin scrutinizes the registration before approving it, protecting data integrity and the buying and selling public.
This guide is for verified real estate brokers, agents, and sales agents on EspasyoMLS who want to register a property so it can be listed. Registering a property is a one-time event in the system: every property is registered exactly once, and after that the same property can be re-listed, re-priced, or updated without ever being registered again.
That one-time rule exists for a reason. Before any registration is accepted, the platform asks you to search for the property by its full address, and only when no matching record exists can a new one be created. This prevents duplicate records for the same building, lot, or unit — a common source of confusion for buyers and renters comparing listings.
Every registration is then reviewed and approved by an admin who scrutinizes all the information you provide: the physical details, the exact map location, and the legal ownership proof. This review is important for many reasons, but primarily it maintains the integrity of the data on the platform and protects the general public — both sellers, who rely on accurate records of what they own, and buyers or renters, who make major financial decisions based on what they see here.
Once your registration is approved, the property becomes available to you for listing. You can attach photos, set a sale price or monthly rent, publish the listing, and track inquiries from your dashboard. If the admin finds a problem with your registration, it is returned to you with the specific reasons so you can correct it and resubmit.
Before you register, here's the information we collect
Property details
- Property type (Condo, House, Townhouse, Apartment, Lot/Land, or Commercial) and sub-type
- Floor area and lot area in square meters
- Bedrooms, bathrooms, parking slots, and number of floors
- Features such as balcony, garden, terrace, maid's room, or walk-in closet
- Amenities such as swimming pool, gym, function room, or 24/7 security
- Year built and floor level, if applicable
Location details
- Region, province, city or municipality, and barangay
- Street name and street number
- Unit identifier (required for condos, apartments, and townhouses — for example 12-C)
- Exact map pindrop of the property location
- Postal code
Ownership and legal details
- Ownership type (for example, Freehold)
- Primary document type (TCT or CCT)
- Title or reference number
- Owner on record — the exact name as it appears on the title
Documents to upload (PDF, JPG, or PNG up to 10MB each)
- Electronic copy of the title — multiple pages are allowed
- Optional supporting documents: SPA, tax receipts, occupancy permits, or similar
Step-by-step registration on your phone
Open My Properties from your dashboard
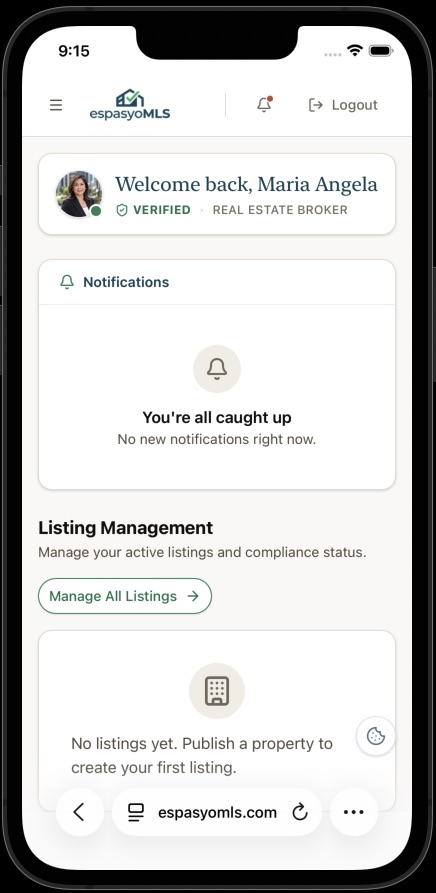
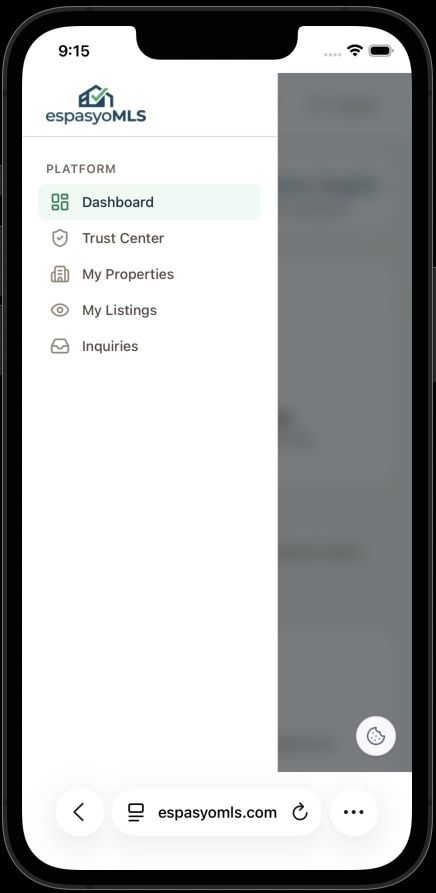
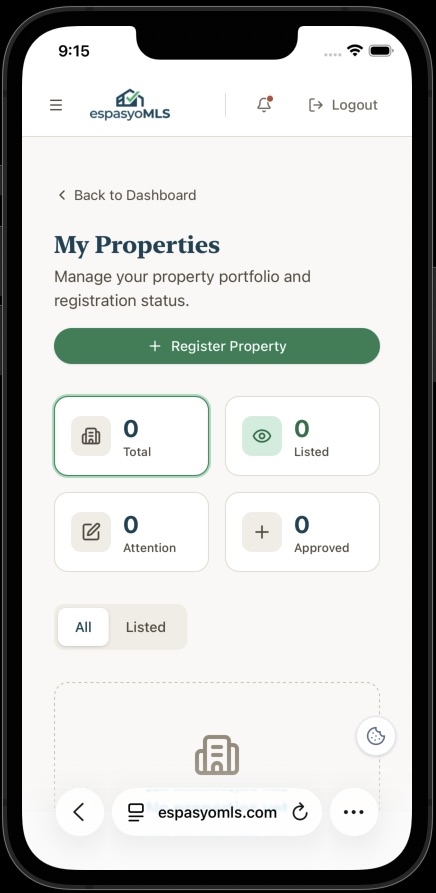
Sign in to espasyomls.com and open the side menu from the top-left corner. Tap My Properties under Platform. This page shows your property portfolio and registration status, with counters for Total, Listed, Attention, and Approved properties.
Tap Register Property and choose the property type
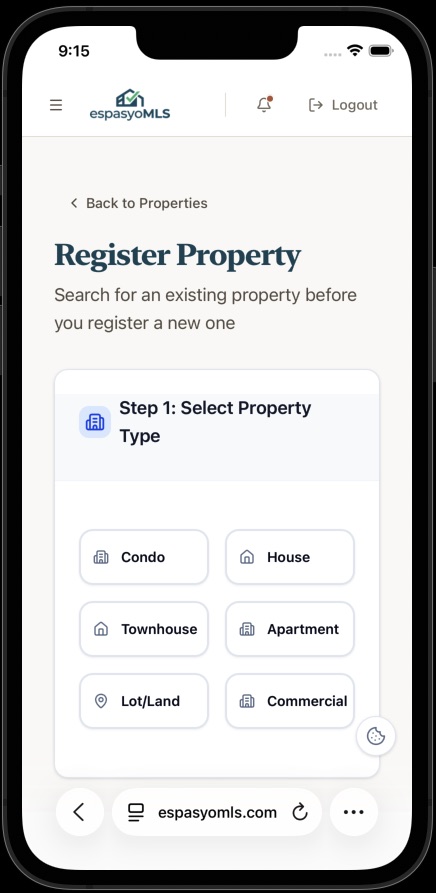
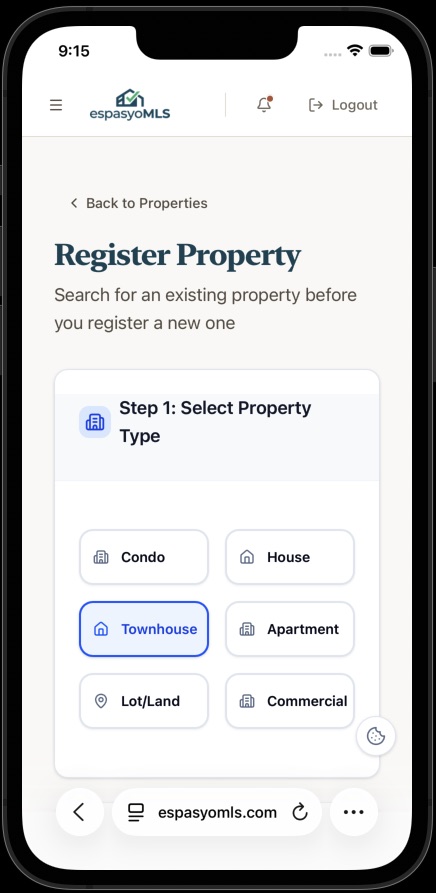
On My Properties, tap the green Register Property button. The Register Property screen opens with a reminder to search for an existing property before registering a new one. In Step 1, tap one of the six property types: Condo, House, Townhouse, Apartment, Lot/Land, or Commercial. The type you tap is highlighted.
Select the region, province, city, and barangay
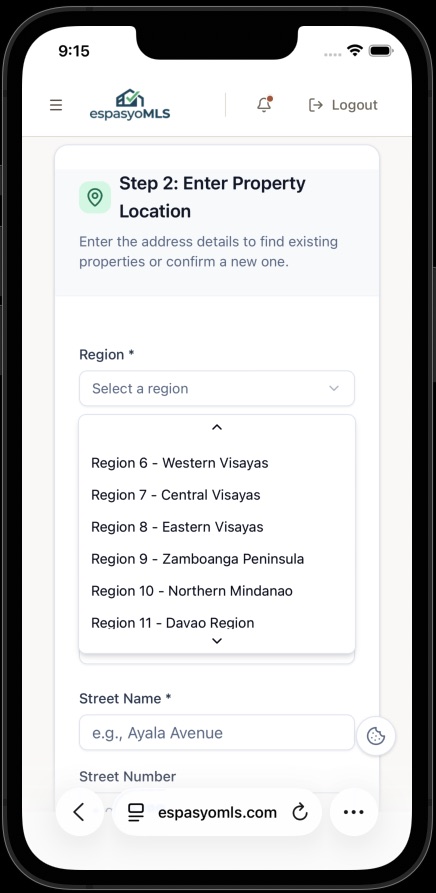
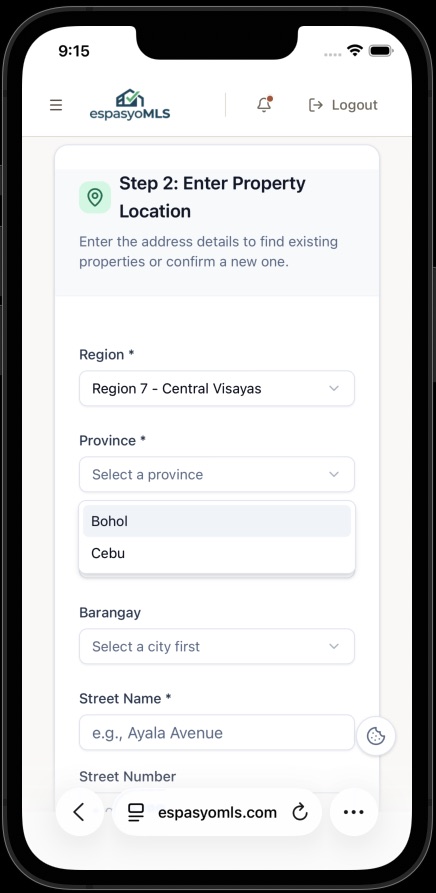
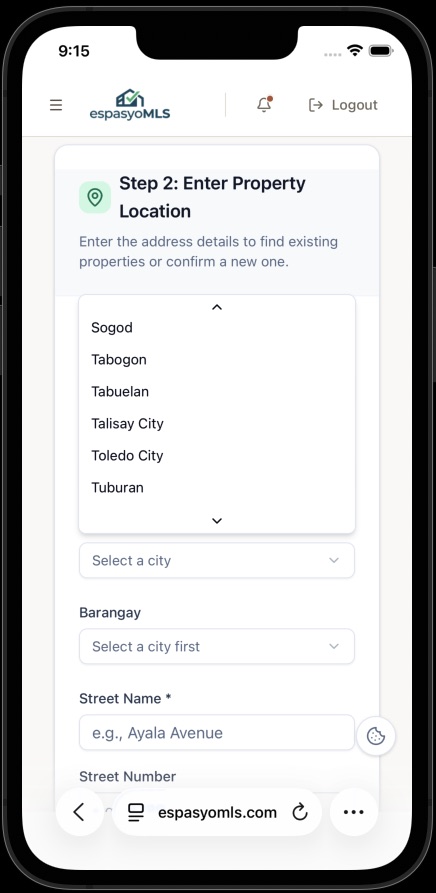
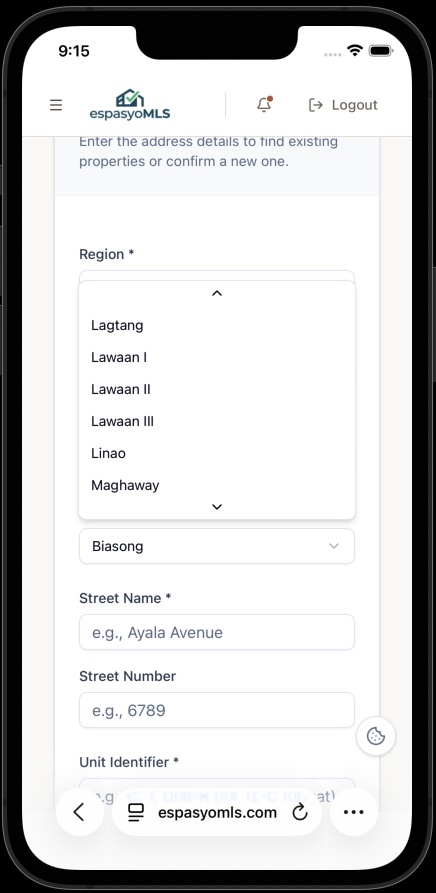
Step 2 asks for the property location so the system can look for an existing record. Using the cascading dropdowns, select the region first, then the province, then the city or municipality, and finally the barangay. Each list narrows as you go — province choices depend on the region, and barangay choices depend on the city.
Enter the street details and search
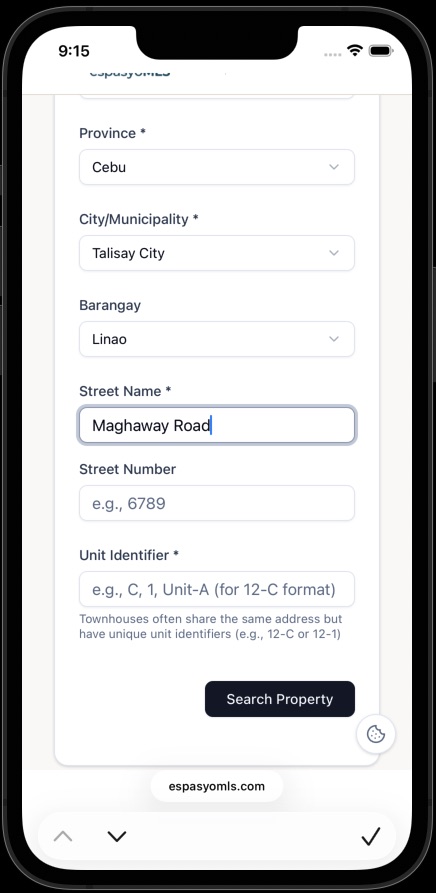
Type the street name (required), the street number if you know it, and the unit identifier — for condos, apartments, and townhouses this distinguishes units that share one address, for example 12-C. Then tap the Search Property button.
Confirm no matching property exists
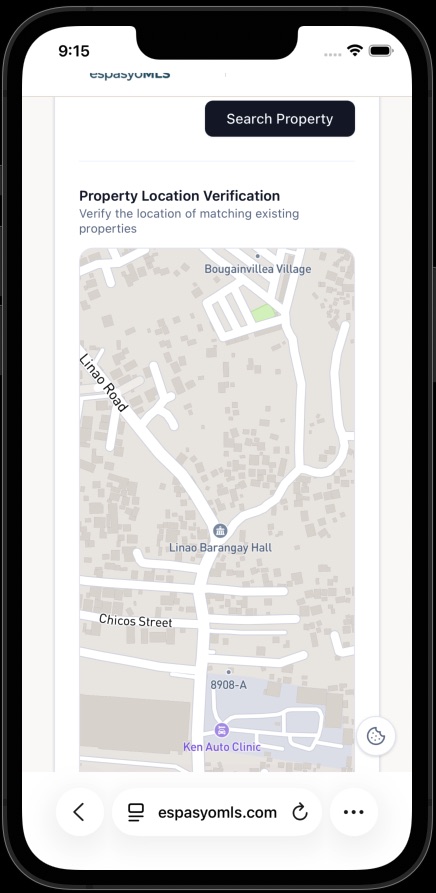
The Property Location Verification screen shows a map of the address area so you can visually confirm the location. If a property already exists at this address, it appears here and you claim or list that existing record instead of creating a duplicate. If nothing matches, the screen says no existing property was found and offers the Register New Property button — this check is what keeps every property registered only once in the system.
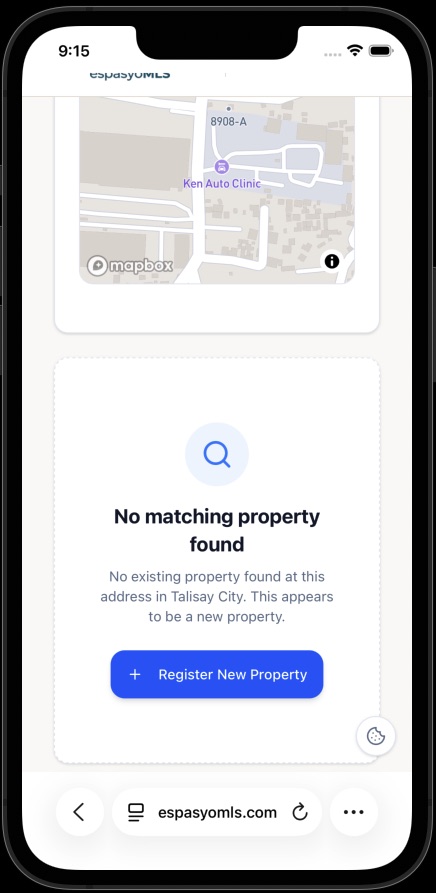
Fill in the Physical Blueprint
Tap Register New Property to open the registration form. In the Physical Blueprint section, confirm the property type, optionally pick a sub-type, and enter the structural details: floor area and lot area in square meters, bedrooms, bathrooms, parking slots, and number of floors. Then tap any features the property has (balcony, garden, terrace, maid's room, and more), any amenities (swimming pool, gym, 24/7 security, and more), plus the year built and floor level if applicable.
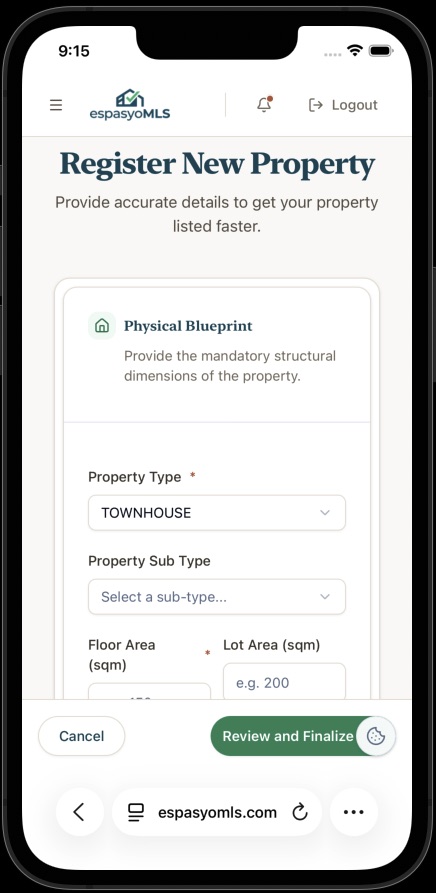
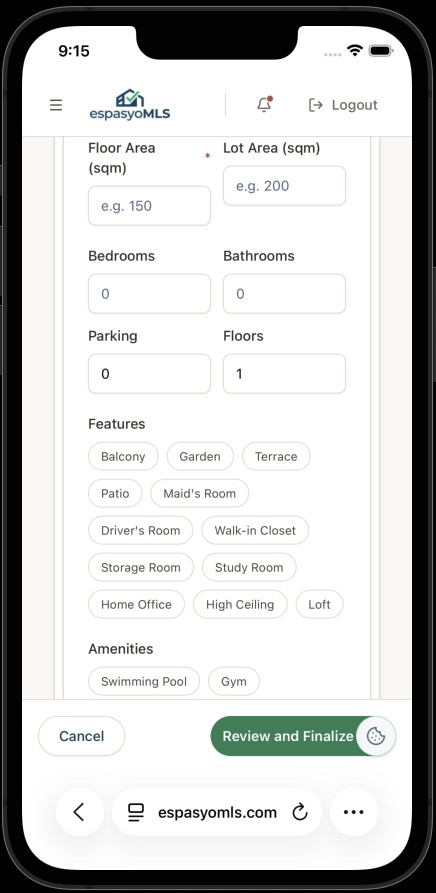
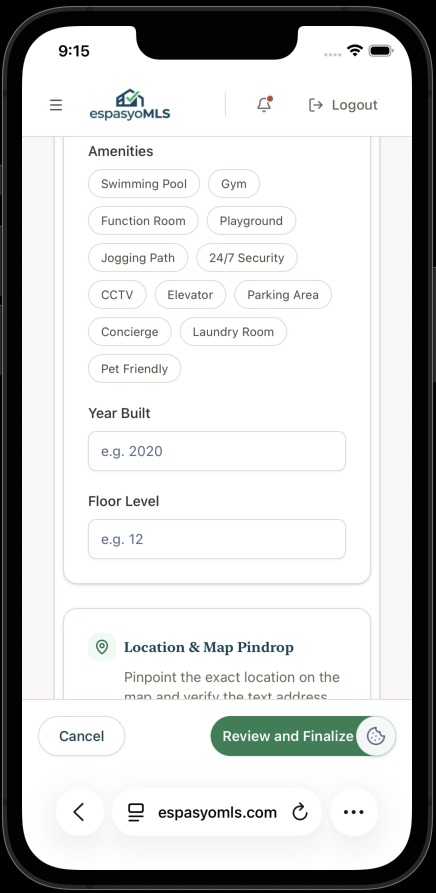
Pin the exact location on the map
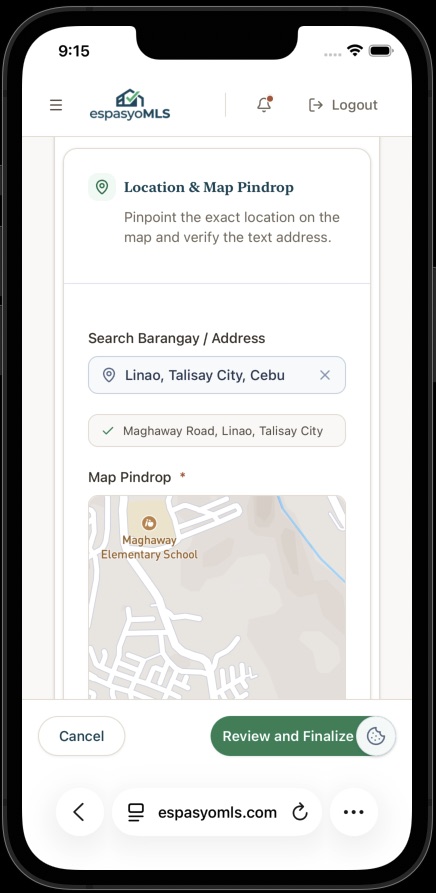
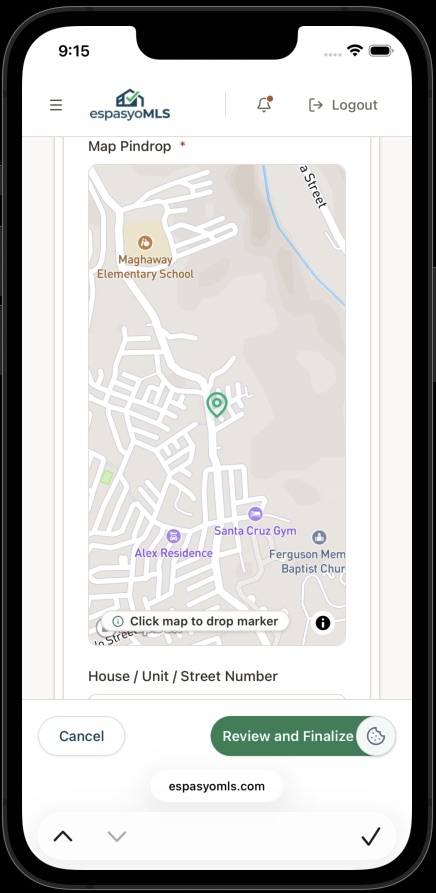
In the Location & Map Pindrop section, search for the barangay or address and pick the verified suggestion. Then tap directly on the map to drop the marker on the exact spot of the property — at the gate or building entrance, not the middle of the barangay. Buyers and renters use this pin for directions, so accuracy matters.
Verify the address details and coordinates
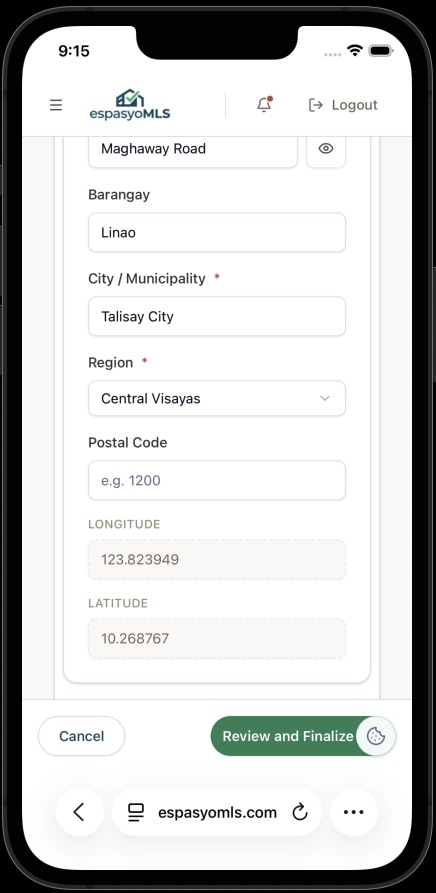
Below the map, confirm the house or unit number, barangay, city or municipality, and region. Enter the postal code if you know it. The longitude and latitude are filled in automatically from your map pindrop — check that they look right before moving on.
Provide the legal and ownership proof
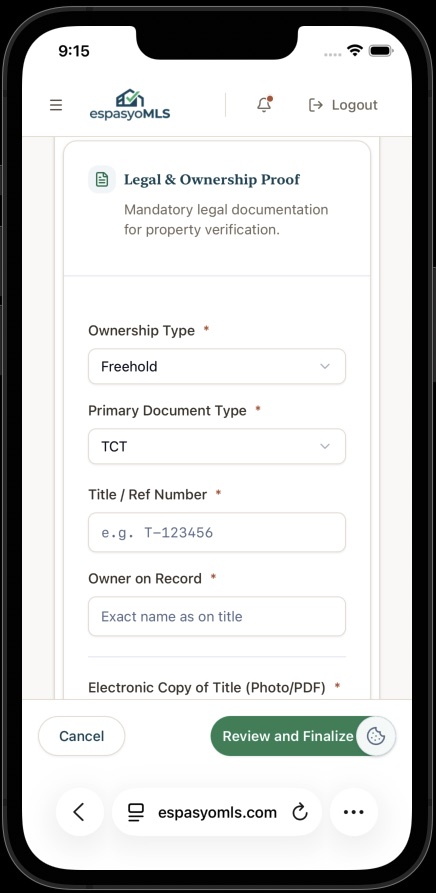
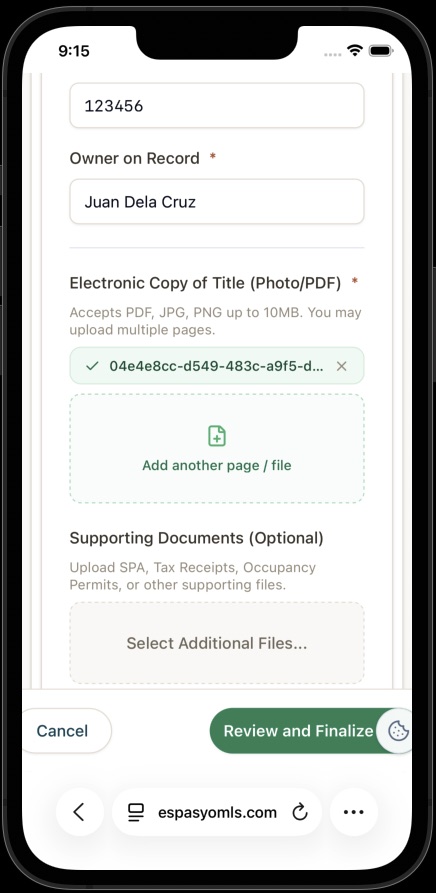
The Legal & Ownership Proof section documents who owns the property. Select the ownership type (for example Freehold) and the primary document type (TCT or CCT). Enter the title or reference number exactly as printed, and the owner on record exactly as the name appears on the title. Upload an electronic copy of the title — PDF, JPG, or PNG up to 10MB, with multiple pages allowed. Optionally add supporting documents such as a Special Power of Attorney, tax receipts, or occupancy permits.
Review, finalize, and submit for admin review
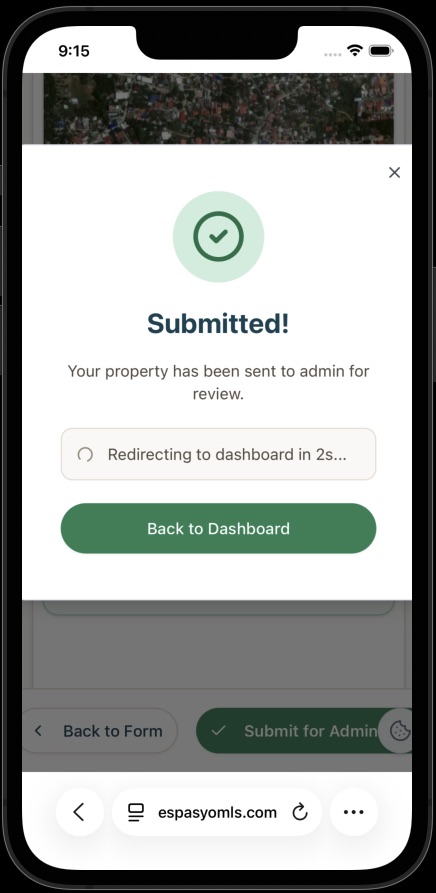
Tap Review and Finalize to see the final review page, check every section, then tap Submit for Admin. A confirmation dialog appears — once submitted, the property is sent to the admin for review. You will see the Submitted! message and can return to your dashboard. The registration now waits for admin approval: the admin scrutinizes the information to protect data integrity and the public, and you are notified once the property is approved and ready to list.